


Realizziamo Software con Velocità ed Efficienza.
Planning Tech sviluppa software e app mobile personalizzate, ad alte prestazioni, in tempi rapidi e
budget contenuti grazie ad un rivoluzionario sviluppo a blocchi.
Servizi Custom
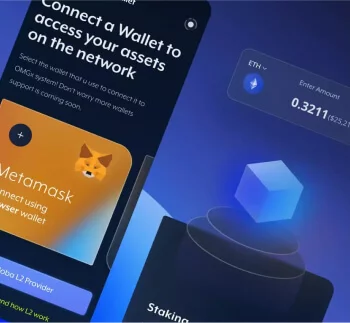
Esplora la nostra gamma di servizi di sviluppo software su misura, progettati per soddisfare le tue esigenze specifiche. Offriamo una vasta gamma di soluzioni, dalle applicazioni mobili alle web app, dallo sviluppo di marketplace personalizzati alla creazione di software CRM e molto altro ancora. Il nostro team di esperti è pronto ad affrontare le sfide più complesse e a offrirti soluzioni innovative e all'avanguardia. Siamo focalizzati sul superare le tue aspettative e fornirti un software di alta qualità, in linea con le tue richieste. Contattaci oggi stesso per discutere delle tue esigenze e scoprire come possiamo realizzare il software su misura che fa al caso tuo.
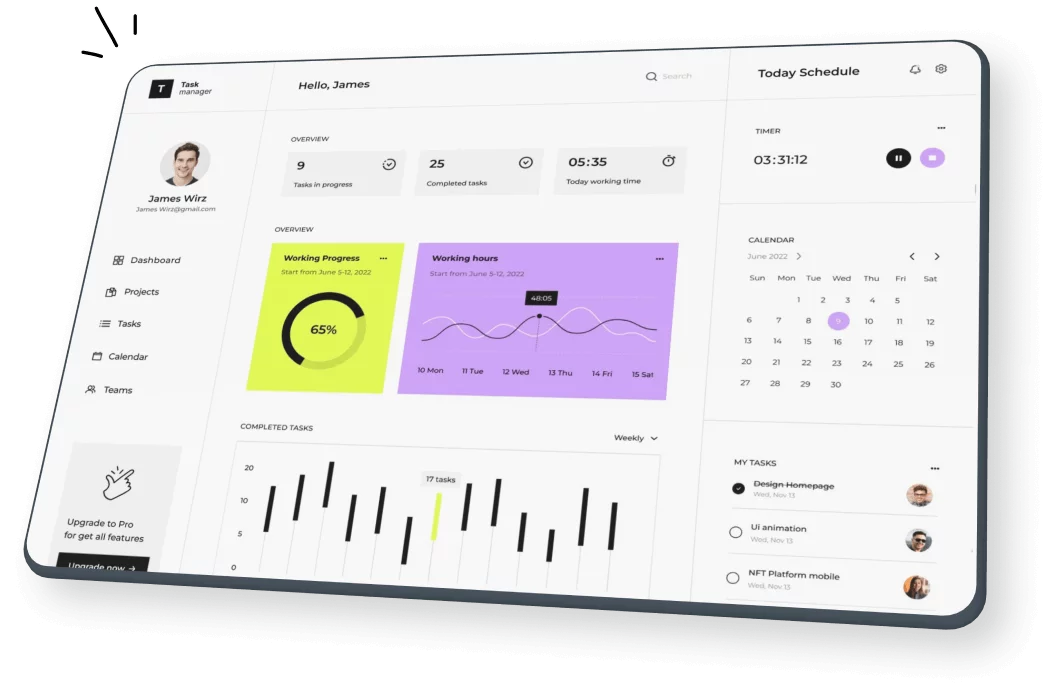
CRM Modulare
che GESTISCE TUTTO.
Scoprilo subito


Per I clienti
Rating di RoomClick di 4.9/5
Provalo
"Interfaccia Eccellente"
"Miglioramenti ad ogni nuova RELEASE"
"Comee ho fatto senza!!"


Software per agenzie assicurative tutti i clienti in un posto solo
AVANT PRO (coming soon)
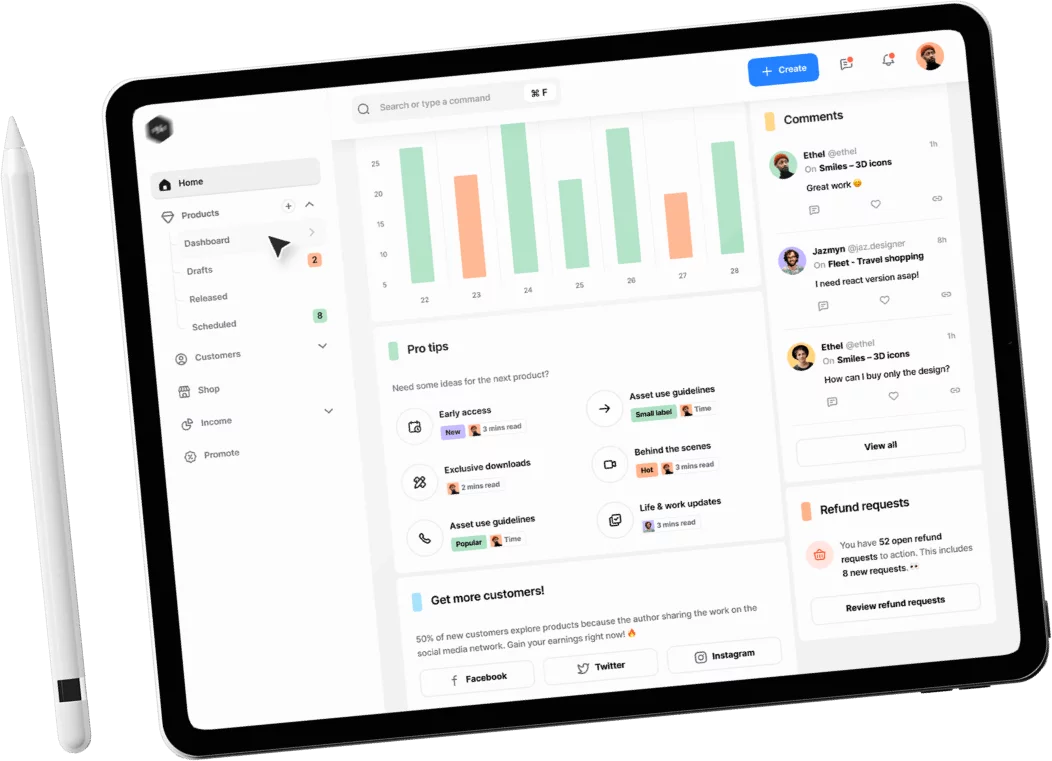
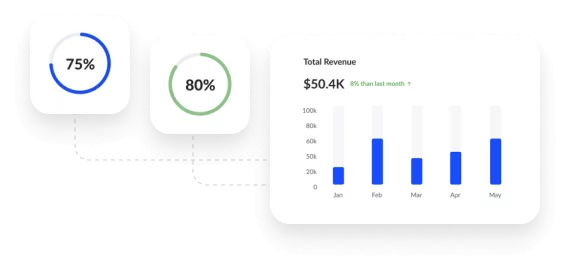
Coming SoonTrack and Analyze Sales in Real time
Centralize and simplify payments, and get comprehensive
insights on your financials softuch.!
- No hidden fees.
- 100% security. Guaranteed.
- No training or maintenance needed


Kind Words
from our Customers
We get absolutely raving reviews from our sales and customer support teams using close. Even our co- founders are very happy.

Rudra Ghosh
Founder & CEO Dulalix
We get absolutely raving reviews from our sales and customer support teams using close. Even our co- founders are very happy.

Rudra Ghosh
Founder & CEO Dulalix
“Softuch helps me keep a clean, organized ledger that I can access anywhere. The UI is so intuitive that anyone can use it,

Rudra Ghosh
Founder & CEO Dulalix
We get absolutely raving reviews from our sales and customer support teams using close. Even our co- founders are very happy.

Rudra Ghosh
Founder & CEO Dulalix
Integrazioni
Tramite API Webservices con le tue Apps Favorite